


|
Navigation: Editor > Icon Editor > Terminals |
  
|
Most submodels will contain ports (i.e an input signal, an output signal or a power port). If you are creating submodel icons, you want to indicate the connection points of these ports. These connection points are called terminals. In the Icon Editor you can define the position of the terminals.
| 1. | In the taskbar click the Terminal button |
| 2. | Click with the mouse pointer on the position where you want to insert a terminal. |
If you have multiple inputs, outputs or ports, a menu will open to ask you which input, output or port should be selected.
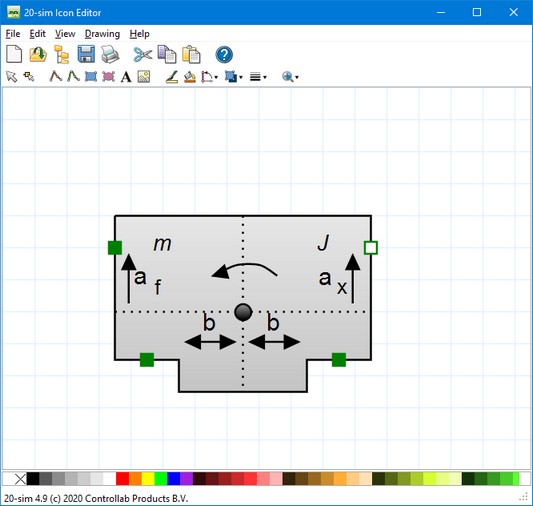
The inputs, outputs and ports are indicated by rectangles.
The terminals are visible in the drawing as small rectangles.
| 3. | You can select a terminal and from the right mouse menu click Properties. |
This will open the Terminal Properties showing the name of the input, output or port and the option to fixate the position. With a fixed position, the connections will start or end exactly at the position of the terminal. Without a fixed position, the connections will point to the center of the icon and start or end at the border of the icon.

You can give a terminal a fixed position.
| 1. | You can see the terminals of a model in the Editor. Go to the View menu and select Show Terminals. |
| 2. | With the Show Terminals option selected, you can change the location and properties of the terminals directly in the Editor (no need to open the Icon Editor). |